Taylored Expressions: O Christmas Tree Kit!

Today is the last Tuesday of the month and that means it’s the new kit day over at Taylored Expressions! This one will make you feel like it’s time to start finding all the Christmas dรฉcor and the snow shovel!

Taylored Expressions is releasing the O Christmas Tree Cardmaking Kit today and this means it’s Christmas in July!

First up, I thought it would be fun to go for a myriad of colors–ultimately resulting in a rainbow of fruit flavors!

I first stamped the snowflakes in a rainbow ombre and then came back and put the tree in to stamp that by itself. With this stamp being two parts, it’s WAY easy to do this! Such a great detail!

The last step is using the layering stencils to color in the tree itself. I used a handful of green inks to layer these in and then added rainbow ornaments with the last stencil layer, covering those with Happy Medium – Glitter – Iridescent Glitter. It’s a bit hard to see in the photo, but in person, it gives that little shimmer of glitter delight!

I used the TE Teal Embossing Pad Kit to give my tree an outline vs cutting it all out. However, I used the wrong sandwich in my machine (oops!), so it die cut out parts while just embossing the others. I ran with it, popping up parts with foam tape and leaving the others flat. Just a little something different in the end. ๐Ÿ™‚

Don’t forget the partridge in the pear tree! Ack–adorable! I threw in a partridge and a pear for good fun! You can grab that die set called Winter Birds Die Setย and add it on to your kit, or use it outside the kit. I am going to try and do that soon too! ๐Ÿ™‚

Next up, I thought we needed to see a pink tree!ย  I die cut this one out and added all the gifts down below, along with a cute little bird from the Winter Birds Die Set.

I created the background panel with the previously released Embossing Folder – Favorite Sweater. So cozy!

The sentiments in the Mini Strips- Holiday 2 (included in the kit), are perfect to add on and mix them up! ๐Ÿ™‚

By diecutting the tree, you can mix up your arrangements on the card. As you can see, I gave this one a little nudge to the left. ๐Ÿ˜‰ But you can also have them partially on your card and cut off one side–something to try myself someday.

As always, don’t forget the Envelope Seals!! I enjoy that final step for sending Christmas cards in the mail.

Be sure to pop over to the TE Blog and website for all the details today.

Here’s the scoop from TE:

The O Christmas Tree Kitย includes:
  • O Christmas Tree Split Stamp & Stencil Combo
  • O Christmas Tree Dies
  • Mini Strips Stamp – Holiday 2
  • The Insiders – O Christmas Tree
  • Taylored Tutorial
Kits go fast and most items are not available to purchase outside the kit. Plus, each cardmaking kit includes a Taylored Tutorial! This detailed instruction sheet helps kickstart your creative journey with step-by-step instructions.
Pair your kit with these coordinating products to take your projects even further:

Want it all? We totally understand and have made it easy for you to get everything in one click! Get the All Spruced Up Bundle that includes the kit along with each of the additional coordinating products ensuring you have one of everything.

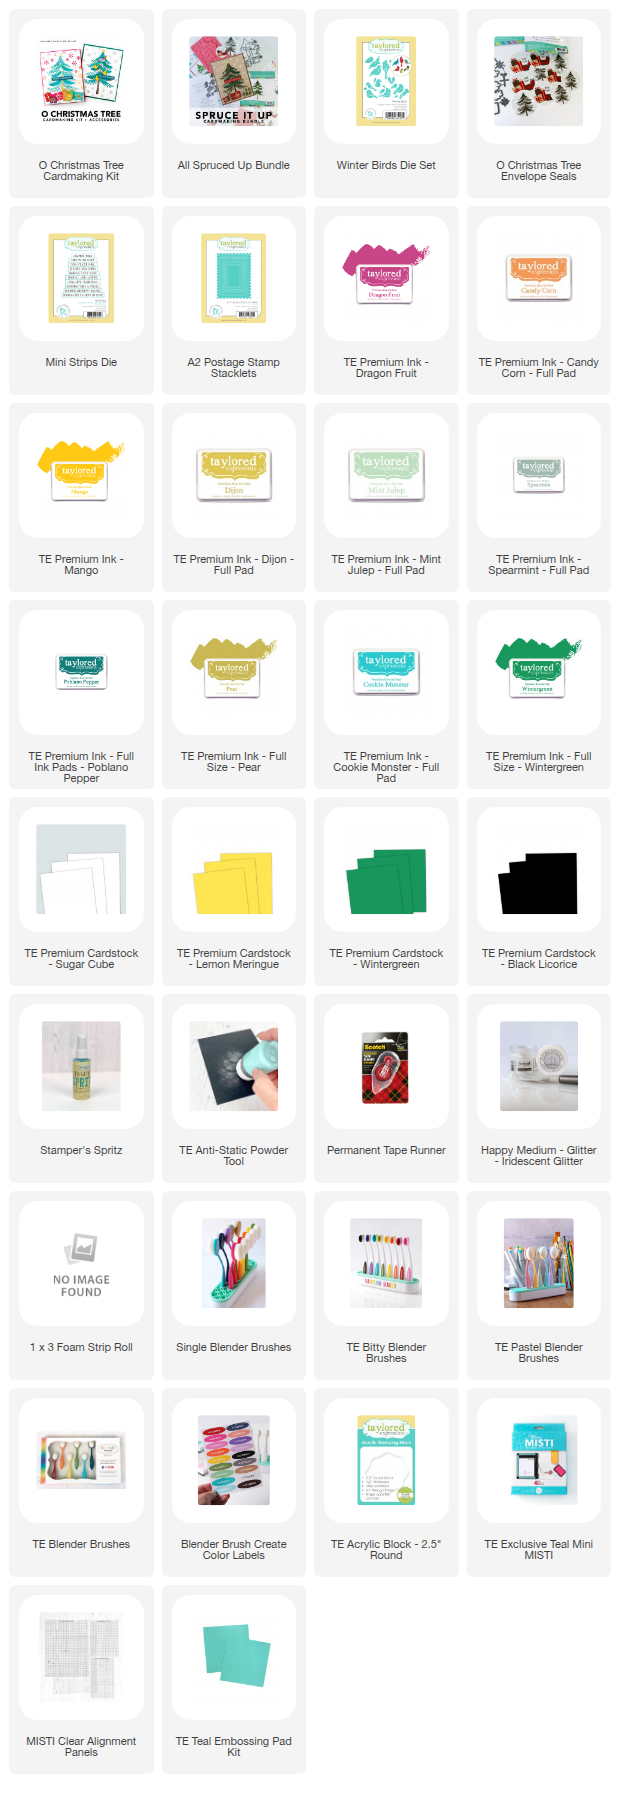
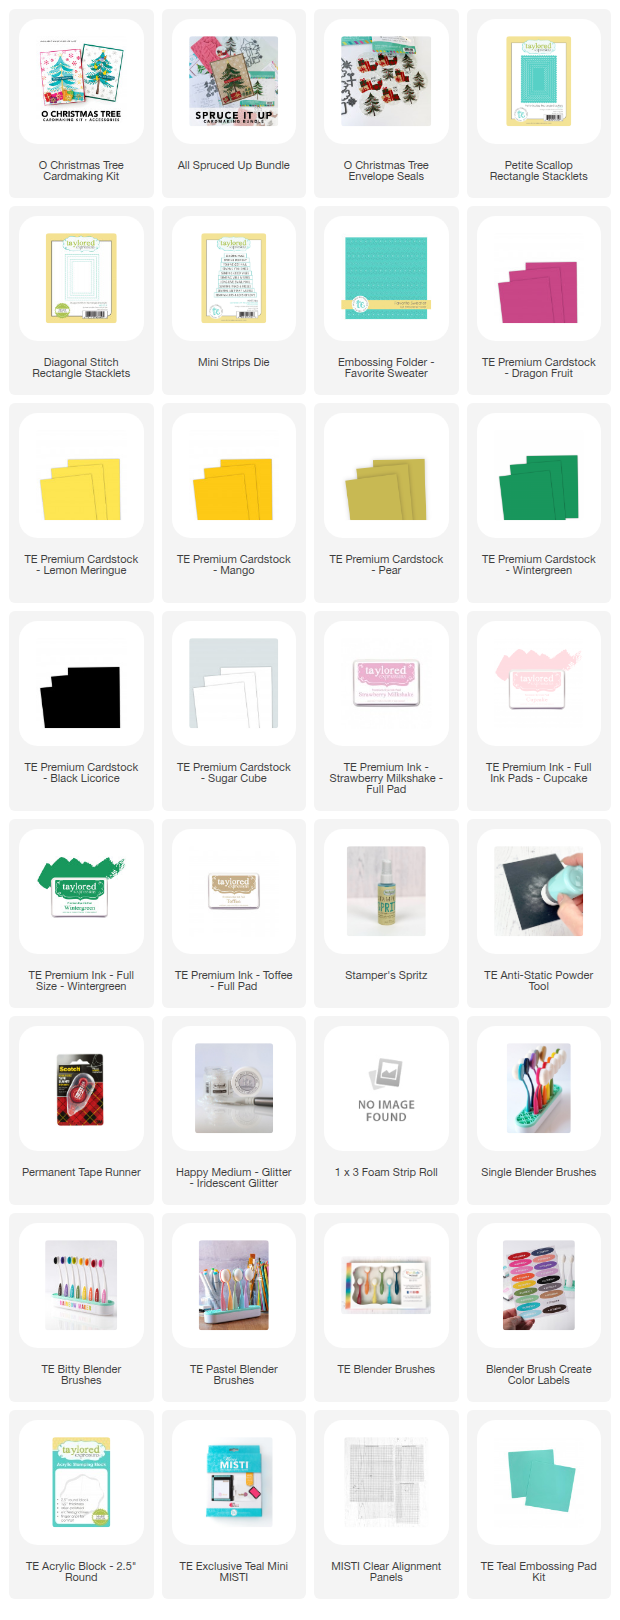
Here are my supplies…

Rainbow card:

Pink card:


Thanks so much for stopping by! Have fun making Christmas in July!ย  ย ๐Ÿ™‚ย 

Take care- Jill

Follow me on Instagram: jilldhawkins ๐Ÿ™‚

Taylored Expressions: Throwback Thursday! Scattered Blooms

It’s the second Throwback Thursday over at Taylored Expressions today! Be sure to head over and check out all the fun there!

Here are my cards for this release, using the previously released limited edition Scattered Blooms kit and all the new add ons!

Eeeep I love these flowers! The Scattered Blooms layering stencils make it so easy and the Scattered Blooms cutting plate used with an TE Embossing Pads creates a whole different look. I super love all the etched lines it adds!

And of course the new Mega Hey There is a super fast fave!!

I can’t wait to use all these new Mega dies alllllllllllll the time! ๐Ÿ™‚

This color combo turned out delightfully too. So Springtastic!

Here is another card using the Mega Oh Happy Day with a the Masking Rectangle Stencil. I die cut the flowers out of Sugar Cube and then added color to them individually with the Bitty and Detailed Blender Brushes.

I did a simple embossing on Sugar Cube with the Scattered Blooms die for the background.

I am ready for all the things to bloom and turn green! Not so much for the hot temps, but so it goes, right? ๐Ÿ˜‰

Be sure to cruise over to the TE Blog and Website for all the deets today.

Here are my supplies.

Hey There card:

Oh Happy Day card:


Thanks so much for stopping by!  ๐Ÿ™‚ 

Take care- Jill

Follow me on Instagram: jilldhawkins ๐Ÿ™‚

Black Friday–Wake UP-time to shop at Taylored Expressions!

Today, Taylored Expressions is celebrating Black Friday and the Crafting Season! If you are gifting a crafter this season, this time is for you. If you ARE THE CRAFTER, this time is also for you! It’s for me too–I can’t wait to snag a bundle fromย Taylored Expressions myself!ย  Be sure to check them all out on the Taylored Expressions website–through Saturday! And I must say, ACT FAST. These do sell out in record times, so don’t delay if you are 100% in!

Today, I’m sharing a set of cards I made with the Happy Half Sheet design I whipped up! It’s fun to see it come together by making a card–and I can’t wait to see what everyone else makes with them too.

For today, I created this fun set using the Birthday Bash stamp set that is also in the bundle. Note, there are coordinating dies too, which will come in VERY handy, but for this, I went old school and just stamped! ๐Ÿ™‚

These were such fun to make and super easy to boot–my fave! I just stamped up the Half Sheet of Sugar Cube card stock in the various colors with a stamping block. I highly recommend just using a stamping block vs. your MISTI to make this one-two-three and enjoyable.ย  You can also use your MISTI, but I find that time consuming and not quite as much fun. I live on the edge sometimes–well, often when crafting. ๐Ÿ˜‚

If you make an error in stamping, I wouldn’t fret too much and just keep going. You’d be amazed and what you don’t see once the sheet is cut up and or you can creatively put your sentiment right over that flub. shhhhh no one will know! ๐Ÿ˜‰

I went all crisp Sugar Cube, of course, and mixed in some textures with Cutting Plates and Embossing Folders. It’s my favorite thing to do to create subtle texture, but not to distract from the main stay. It also keeps them from getting too busy, in my opinion.

And remember, white space doesn’t have to be WHITE per say, it’s just about creating some breathing room, no matter what your palette of colors is. ๐Ÿ™‚

These would be great to make ahead and have ready for a New Year, right? The Simple Strips are the Simple Strips-Birthday. Always a mainstay!

So festive!

Be sure to check out my supply list for all the extras I used–embossing folders, stacklets and cutting plates. So fun!

Be sure to check out the Black Friday sales and fun over at Taylored Expressions

Here’s the scoop from TE:

We have 20% off site-wide, plus exclusive $100 and $200 gifts with purchase freebies. The already discounted doorbuster bundles are not included in the sale. Be sure to check out all the details and info on the Taylored Expressions website!

Birthday Bash with Happy Half Sheet card: ย 

Find the TE Blog Post HERE with lots of Black Fridayย inspiration from the TE Creative Team! ๐Ÿ˜‰

Thanks so much for stopping by!ย  ๐Ÿ™‚ย 

Take care-ย 

Jill

ย Follow me on Instagram: jilldhawkinsย ๐Ÿ™‚