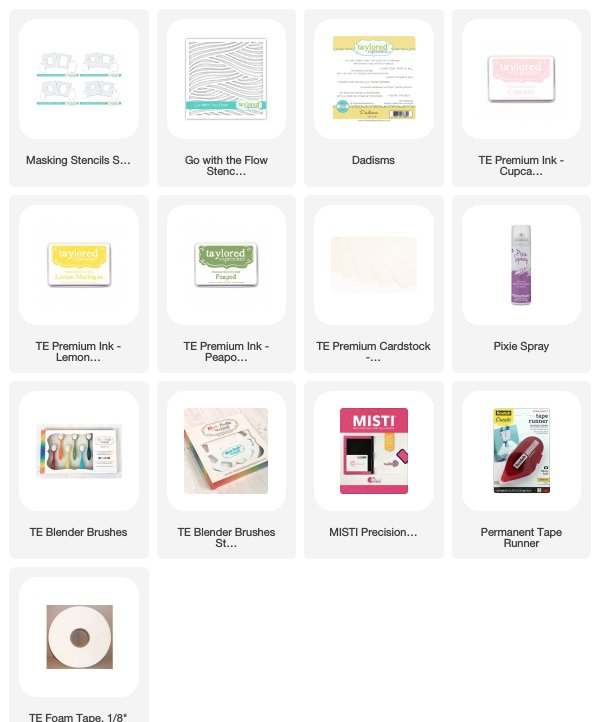
Oh happiest of crafty days today to finally share this AWESOMENESS!!! My friend, Laurie Willison thought up this fantastic and oh so handy new set of stencils and they are available now from Taylored Expressions! I’ve waited so long to say this, so I will say it again: These stencils are available over at Taylored Expressions now! 😊
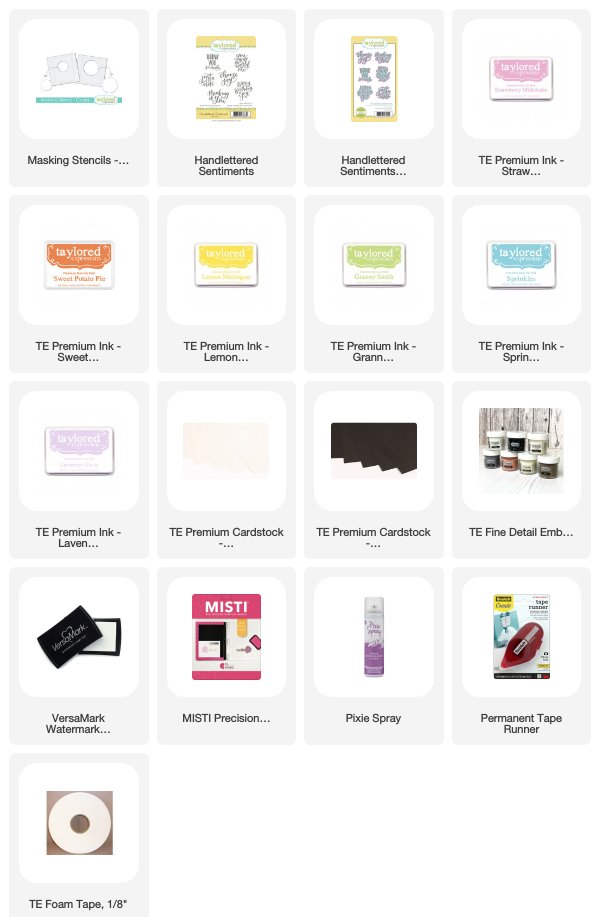
My first card today uses one of the new circle stencils in a different way than I’ve mostly used them for. And let me tell you how quick this is! Imagine the possibilities! Gah!!

I recommend spraying the stencils with Thermoweb’s Pixie Spray for quick and easy up stick to your cardstock. (You can also simple secure with Purple Tape.) I then just wipe the stencil clean with a dry cloth between blending on colors and it goes really swiftly!

I love the simplicity of these stencils and the ease of them. Rainbow action for the win! 🙂 I used a sentiment from the Handlettered Sentiments and coordinating dies. Those are a fave set!
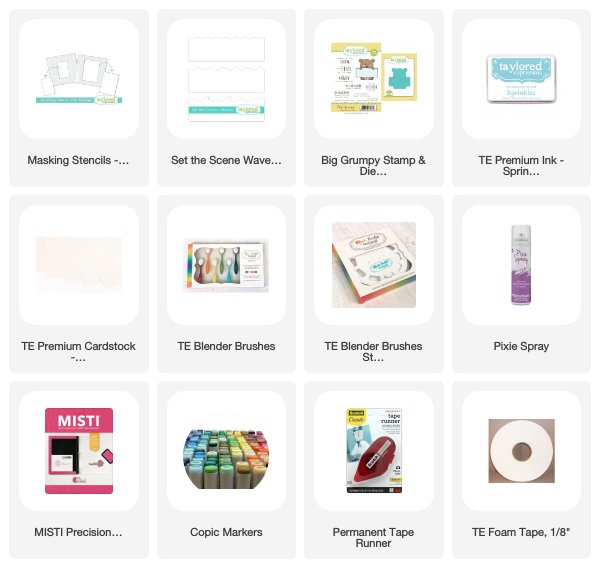
Next up, an example of what I pretty much use these awesome stencils for all the time–masking off a frame on my card fronts. I have always used a t-ruler, pencil and post-it tape/notes. Yes, this method is still just fine. But NOW, soooo quick and easy with these stencils. PLUS, I don’t have to erase pencil lines–and risk smearing inks. AND I don’t get pencil lines trapped under ink! Hooray!!

Of course, I had to use the Set the Scene Clouds with these stencils. For a full stencil, I put the stencil on the bottom and the masking stencil over top. But because these clouds are in strips and you have to move them, I did the masking stencil on the bottom and the clouds on top. Naturally, Big Grumpy had to make another appearance with his little sign of too peopley! Which just makes me laugh every time. 😉

I love that you can create this layered look in one layer, if you wanted to! These stencils are an essential cardmaking staple in my mind! 🙂 Way to go, LDubs!! ❤ I’m excited for Laurie and Taylored Expressions that this all came together! 🙂
The stencils have etched lines to show where to put your card panel or card base. One outline is for a full A2 card and the other is for a “typical” card front panel (matte, if you will), 4 x 5.25.
Here’s a little tip: You can rub in a little acrylic paint into the grooves and it make the lines more evident without interfering with the use of the stencil in anyway. And the paint stays on there. I used white, but you could use any bright color you want to create contrast.
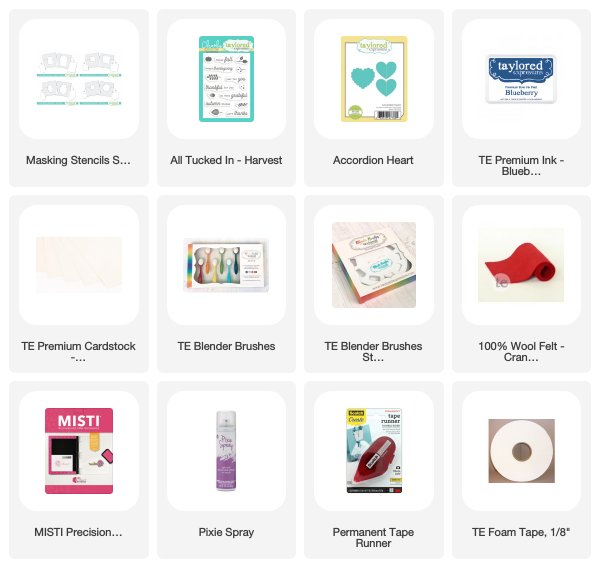
You can find all my supplies and links to the Taylored Expressions Shop below.
Choose Joy card:
Too Peopley card:
All these products are available now over at Taylored Expressions!
Also, there’s this little bit: The bundle includes all four shapes for $48 plus receive a free roll of 1/2″ purple tape with the purchase of the bundle from Oct. 22 – Oct. 27.

Thanks so much for stopping by today and be sure to check out the Taylored Expressions blog and Laurie’s Blog today too. They are both sure to have amazing things to share! So happy your creative idea is now a thing I have on my desk, Laurie!! ❤ 🙂


 On top of this amazing cover plate stack, it doesn’t need much! But naturally, I used Confetti Bits:


